This article will cover 10 useful Microsoft Excel tips that you can use to help enhance your productivity and become more proficient in using this spreadsheet program. Take your time to read the entire list so you can find the tips that’ll be most beneficial to you. If you’re looking for a fast track way to improve your Excel skills, then check out our Excel courses in Perth, which we have starting from just $295.
Let’s get straight to it and check out the tricks below. You can choose to bookmark this page so you can come back anytime for reference on how to perform these tips.
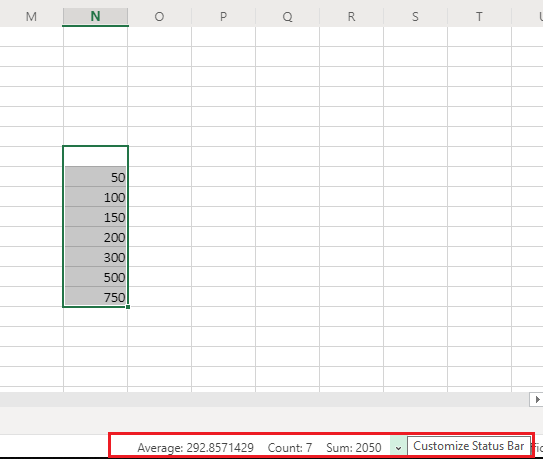
1. Utilise the status bar
Each time you highlight multiple numbers, the status bar at the bottom will display helpful information such as its average, count, and sum.
Most people are familiar with this status bar, but you can utilise it even further by clicking on the the bottom-pointing arrow to add more features like the minimum and maximum values of the numbers you’ve highlighted.
2. Use keyboard shortcuts for quick navigation
All it takes is a push of a keyboard shortcut to navigate quicker within the sheet. Instead of dragging the sheet with your mouse, here are a few keyboard shortcuts that you can try out:
- Ctrl + End – go to the farthest right cell you’ve entered data in.
- Ctrl + home – go to the start.
- Ctrl + right arrow – go to the farthest right of the spreadsheet.
- Ctrl + left arrow – go to the farthest left of the spreadsheet.
- Ctrl + up arrow – go to the top of the spreadsheet.
- Ctrl + down arrow – go to the bottom of the spreadsheet.
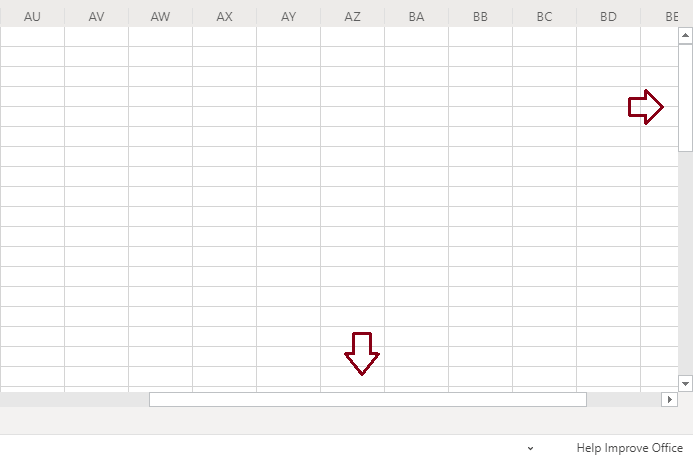
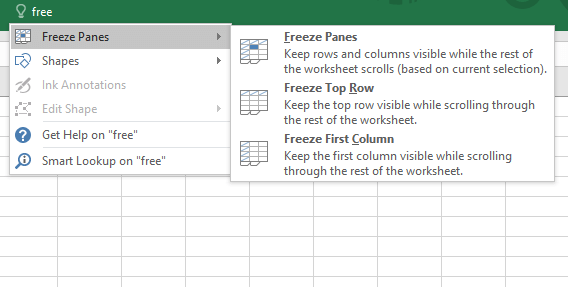
3. Freeze panes
You can make the rows stay on top of the spreadsheet as you navigate through it. To do this, press Alt + Q and type in “freeze panes”. From there, you can choose which rows and columns are frozen while you scroll through the Excel sheet.
- Freeze panes based on the current view.
- Freeze the top row.
- Freeze the first column.
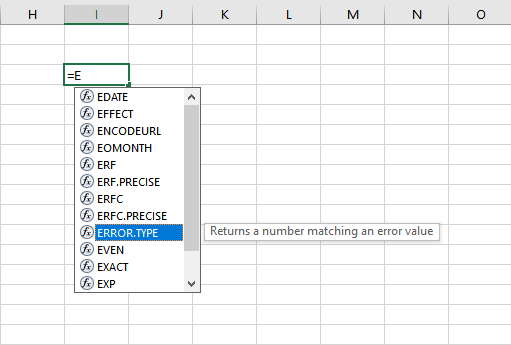
4. Quick select formulas
If you are constantly entering formulas, this tip can help you save a whole lot of time. When typing a formula, you’ll notice a few suggested formulas pop up. You can use the up and down keys to go through these suggestions and you can even press the tab key to select the formula automatically. This method saves you from typing out a full formula each time, thus making it more efficient.
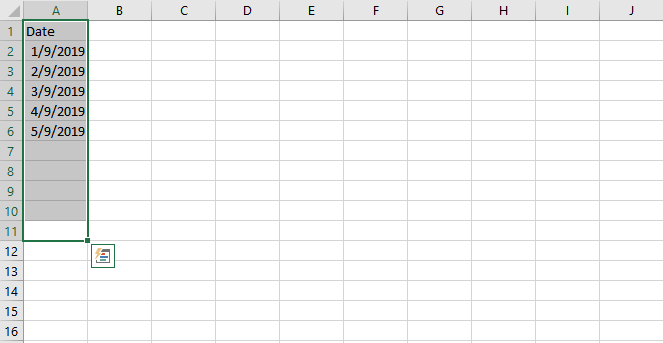
5. Auto-filling information
You can autofill a range of data by highlighting the range and dragging down to fill more cells with the following information. There are a number of ways you can use this to increase your productivity and one example is to enter consecutive dates automatically. Excel can predict which information you’d like to autofill. If you have a column that appears every fourth day, it can follow that pattern when auto-filling information.
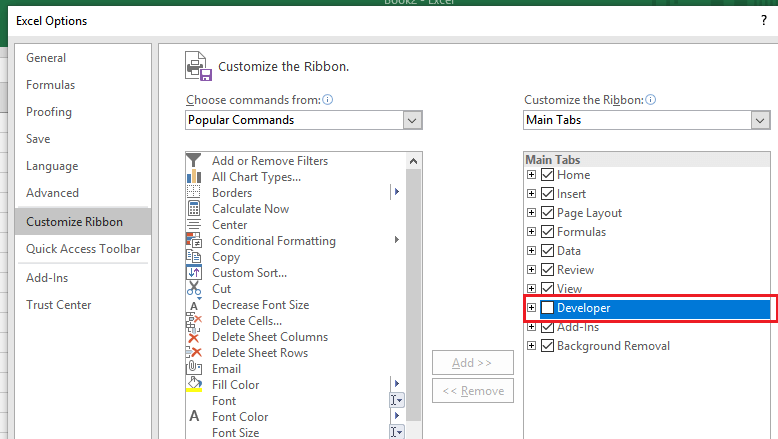
6. Automate tasks by creating a macro
If you’re performing tasks repeatedly, you can automate the entire process by creating a macro. To do this, click the File button on the top left corner and click Options. From there, click the Customize Ribbon and to the right you’ll see a main tab. Activate the Developer box and click OK to save the settings.
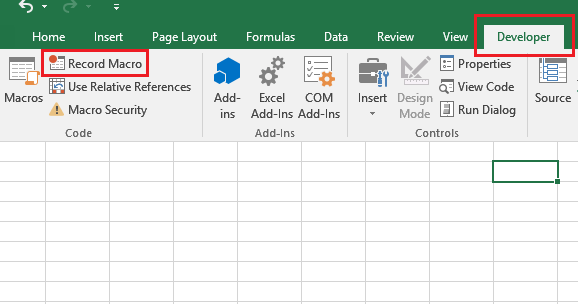
You should see the developer tab appear on the top-most part of the spreadsheet. Click on it and locate the Record Macro button. Name the macro then select a shortcut for it. To make things easier for you, you can add a description for future reference.
While recording, simply perform any task you normally do that you want to automize. Once you’re finished, click the Stop Recording button. You can now use the shortcut to perform the task you recorded instantly.
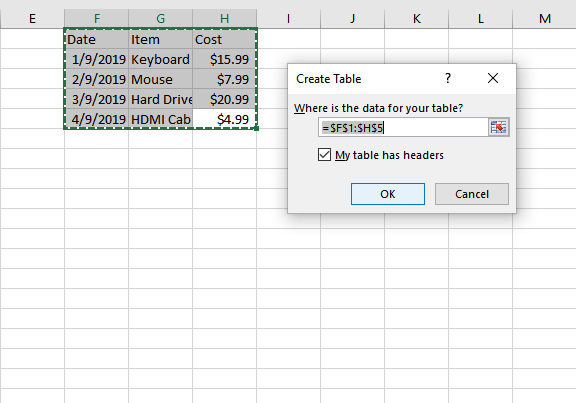
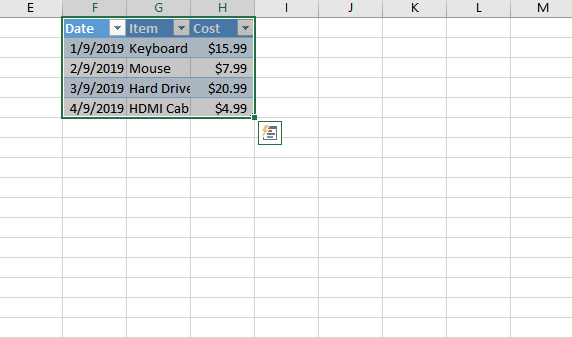
7. Create visually appealing tabs
It takes only a few seconds to create good-looking tabs. All you need to do is highlight the data you want in the table, go to the Insert tab, and click the Table option. The data will now have a border around it.
At the top right, there are a number of table icons for you to choose from where you can change the design according to your preferences. If your cursor is hovering over the table, a small icon underneath it will appear. This icon opens up the menu for creating tables, charts, formatting rules, and more.
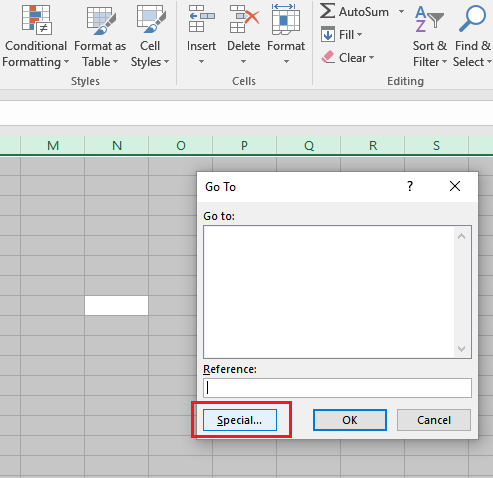
8. Find specific cells with ease
It can be difficult to find the information you’re looking for if the spreadsheet has an overwhelming amount of data. To make things easier for you, use the Go to tool to pinpoint the cells you want to look at. Select everything in your sheet by pressing Alt + A and go to the Home tab. You’ll see the editing section on the top right where the Find & Select button is located.
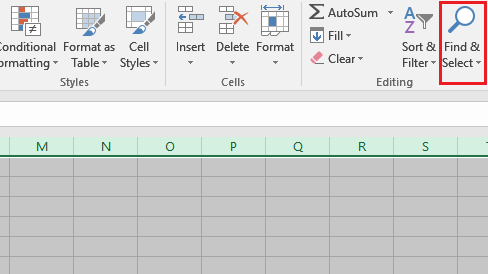
Press the Find & Select button and choose Go to to jump right into what you’re looking for. If you want, you can create a comment on any cell you’d want to find later on. Just select Comments after clicking the Special button while on Go to.
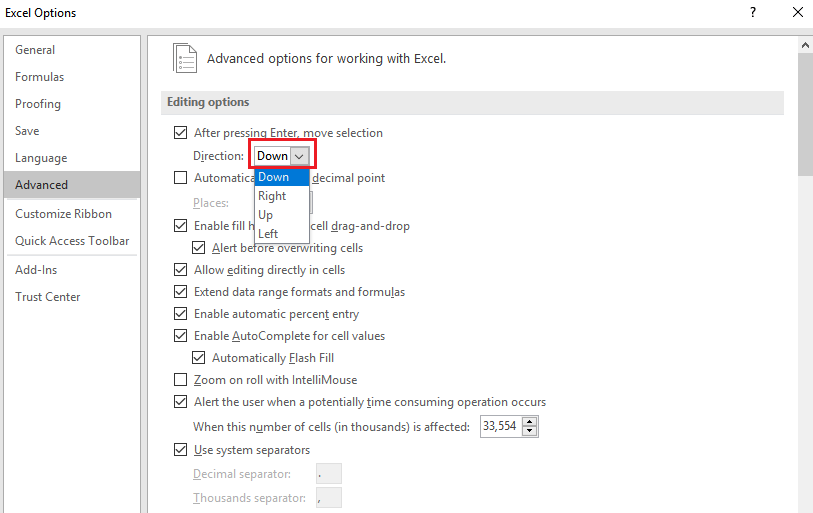
9. Change the function of the ‘Enter’ button
By default, you will move a cell down when you press the Enter button. But that doesn’t mean you should limit yourself to just moving down cells. You can change the function of the Enter button by going into the File tab and click Options. You’ll see an Advanced tab where you can select whether the Enter button will move a cell up, left, or right.
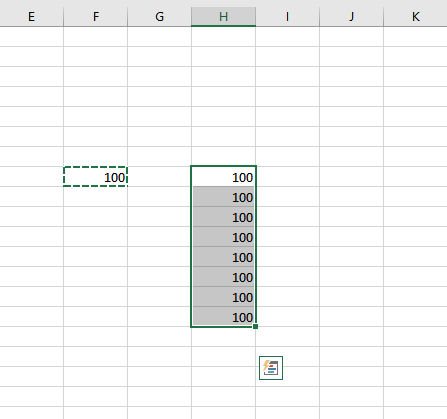
10. Copy and paste the same data into multiple cells
To quickly copy the same data onto multiple cells, first highlight the cell you want to be copied and press Ctrl + C. Next, highlight the cells you want the data to be copied into and press Ctrl + V. It’s a quick and easy way to copy things without having to type the same data repeatedly.
These 10 Microsoft Excel tricks will help boost your productivity when working with data across the spreadsheet. Give these tips a try and see how much easier it’ll be to navigate around Microsoft Excel.